5 Easy Dutch Braid Tips for a Beautiful Look at Home
Dutch braids, sometimes called reverse French braids or inside-out braids, have a long history in many cultures, especially in Europe and Africa. This style is made by weaving hair strands under each other, which creates a raised braid that sits on top of the scalp.
In the past, people used these braids to keep their hair neat. They also used different braid styles to show their culture, social status, special events, and personal identity.
Today, Dutch braids are loved for their classic look and flexibility. People of all ages wear them for both everyday activities and special events. This style works well with all hair types. You can style Dutch braids in many ways, like double braids, braided crowns, or as part of an updo.
In This Article
What Are Dutch Braids?
Dutch braids are a timeless hairstyle. They are made by weaving three hair sections and crossing the strands underneath each other. This method creates a braid that sits on top of the hair, unlike French braids that blend in. The inside-out style gives Dutch braids a bold, textured look that really stands out.
Dutch braids offer many advantages. They protect your hair by keeping it neatly tucked in, which helps prevent damage from the environment. This style also lasts longer than many others, staying neat and well-structured for days. Because of this, Dutch braids are a great choice for people with busy schedules or those who want a long-lasting hairstyle.
They also suit every hair type, whether your hair is fine, thick, straight, or curly. This makes them a flexible and stylish choice that can be easily adjusted for different hair textures and lengths.
Tools and Products Needed
Here are some tools and products that can help you achieve a perfect look:
Essential Tools:
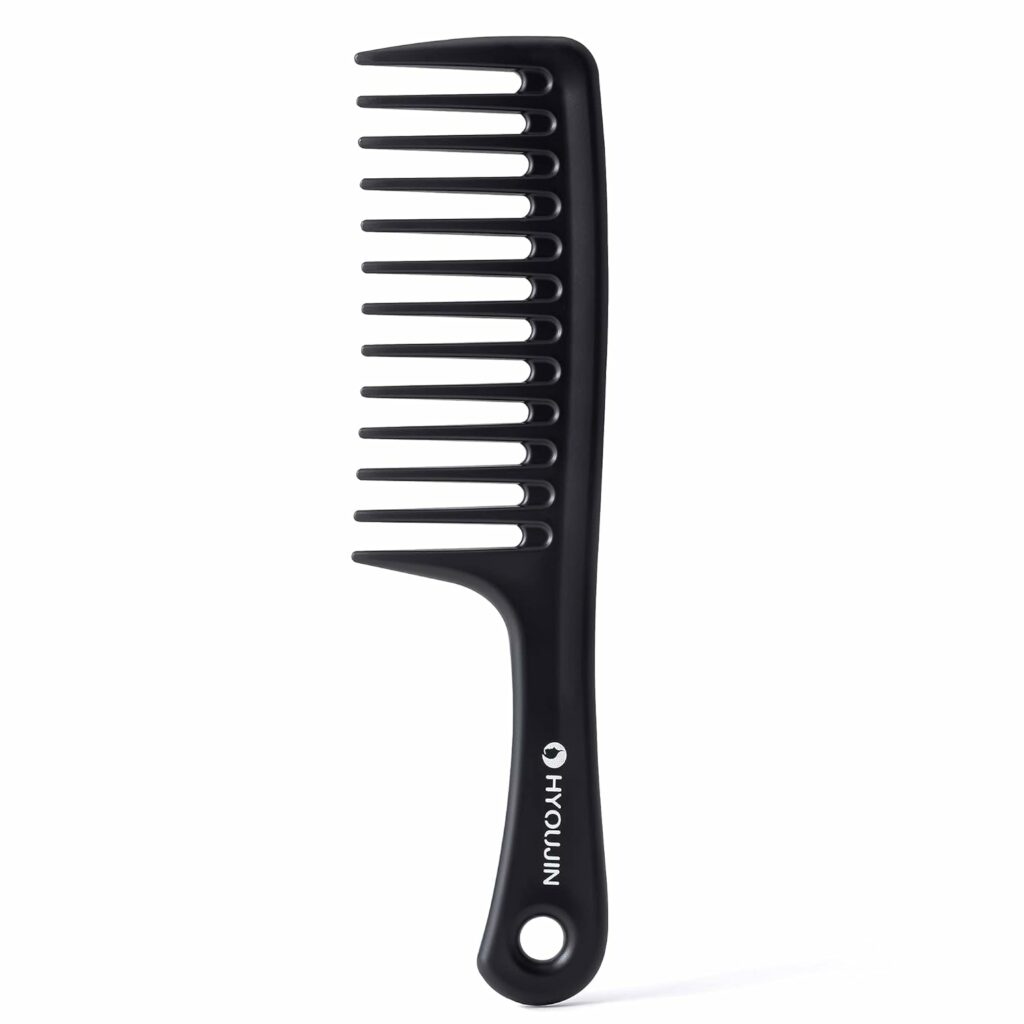
HYOUJIN Wide Tooth Comb DetanglerMade for durability, this plastic hair comb is the perfect tool for everyday use. There’s a comb for everyone that will meet the styling needs for all. Perfect for wet hair. Great for damage doers & strength seekers alike. For women with wavy, frizz-prone hair looking to defy humidity for a smooth & sleek end look. |
Recommended Hair Products:
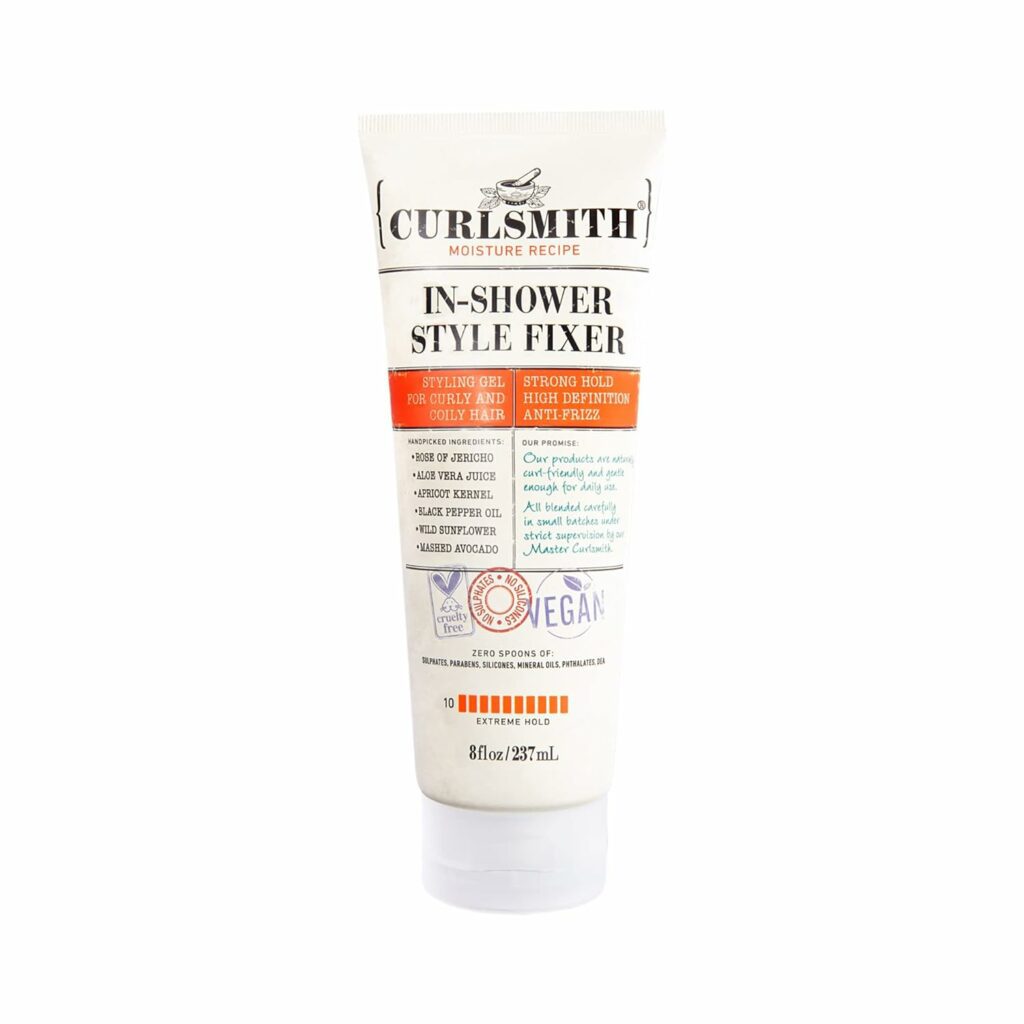
Curlsmith Styling GelCurlsmith In-Shower Style Fixer tames frizz and flyaways, giving extreme hold and definition – without drying hair. |
These tools and products help you make neat, well-shaped Dutch braids. They also protect your hair throughout the styling process and keep it healthy.
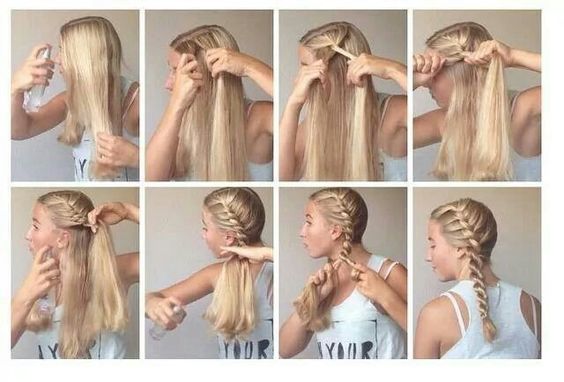
Step-by-Step Guide to Creating Dutch Braids
Step 1: Prepare Your Hair
Step 2: Begin the Braid
Step 3: Incorporate More Hair
Step 4: Finish the Braid
Step 5: Repeat (for Double Dutch Braids)
Tips for Beginners
Learning how to make Dutch braids takes some practice. Follow these simple steps and helpful tips, and soon you will be able to create this trendy and flexible hairstyle with ease!
Dutch Braids for Different Hair Types
Curly hair:
If you have curly hair, start by using a wide-tooth comb to gently remove tangles. Apply a leave-in conditioner to help control your curls. Work with damp hair to reduce frizz and make braiding simpler. Use a light styling gel to smooth each section as you braid.
Straight hair:
Spray and mousse work well to add volume to straight hair. You can gently tease the hair at the crown for more lift. This makes your braids stay in place and appear thicker.
Tips for thick and thin hair
Styling Ideas and Variations
Here are some different ways to style your hair so it always looks great:
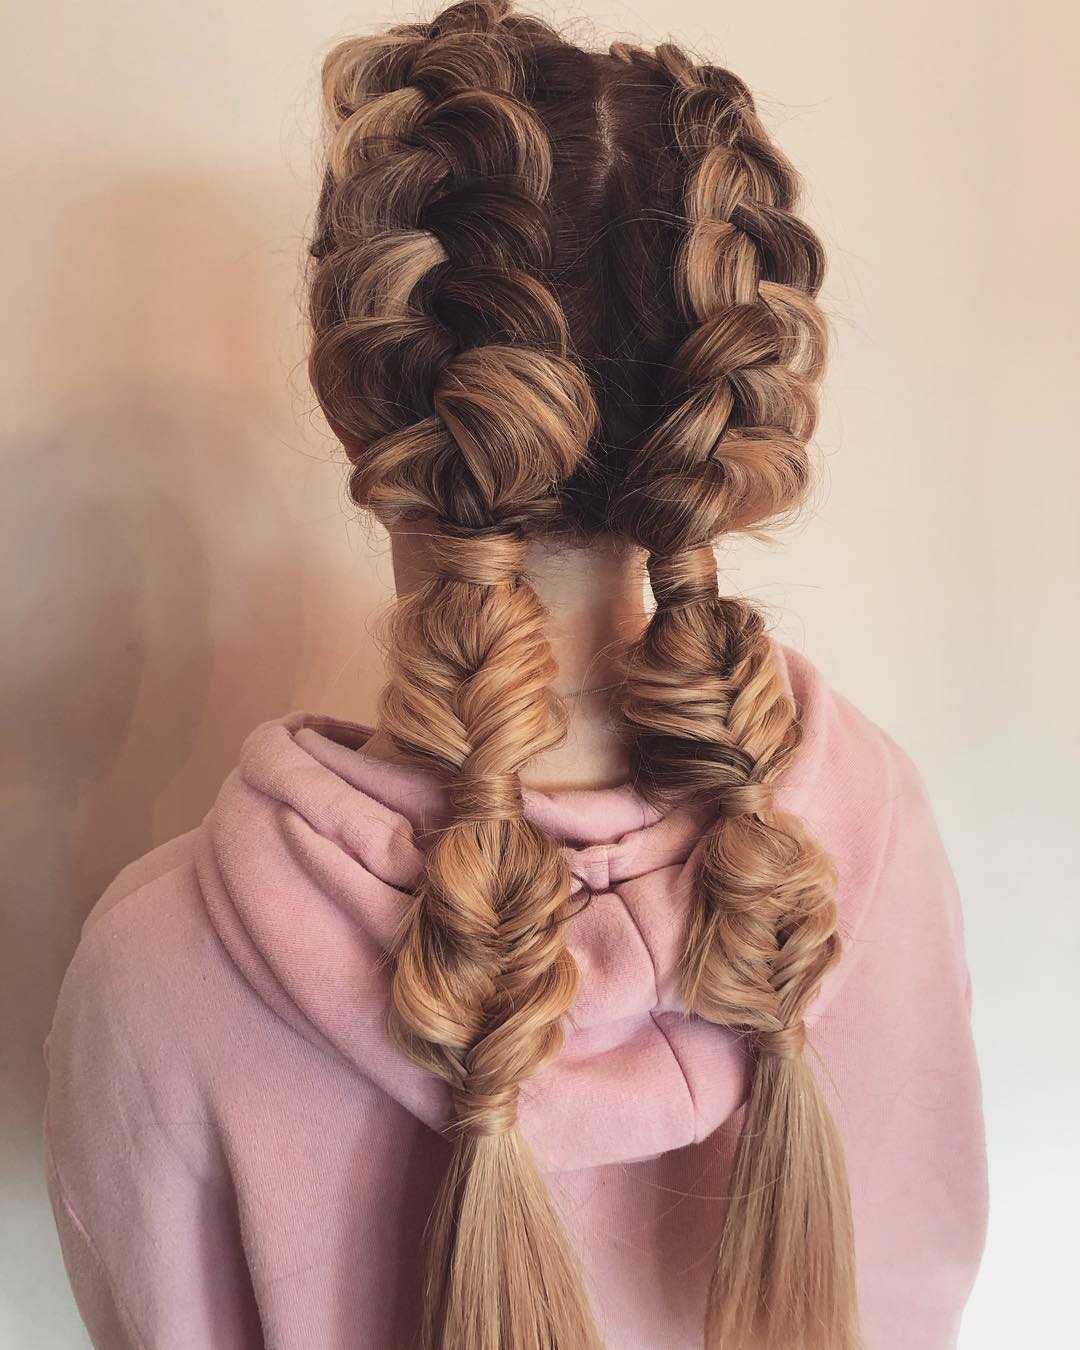
Double Dutch braids: Two neat braids that start at the top of your head and run down each side. They look bold and stylish, perfect for sports or everyday wear.
Divide your hair in the middle, then make a Dutch braid on each side. This gives you a sporty and trendy style.
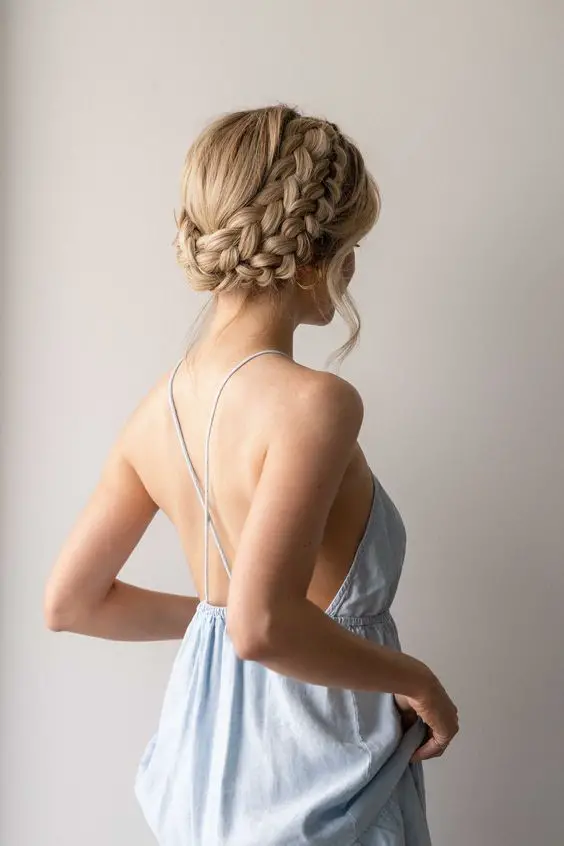
Dutch braid crown
Begin braiding near one ear. Continue wrapping the braid around your head until you reach the other ear. Tuck the end under where you started to create a beautiful crown braid.
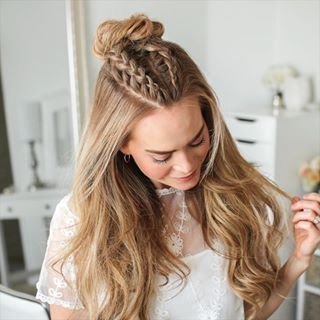
Dutch braid styled into a ponytail or a bun
Make a braid down your back. You can leave it as a braid or pull it into a ponytail or bun. This gives you a tidy and stylish look.
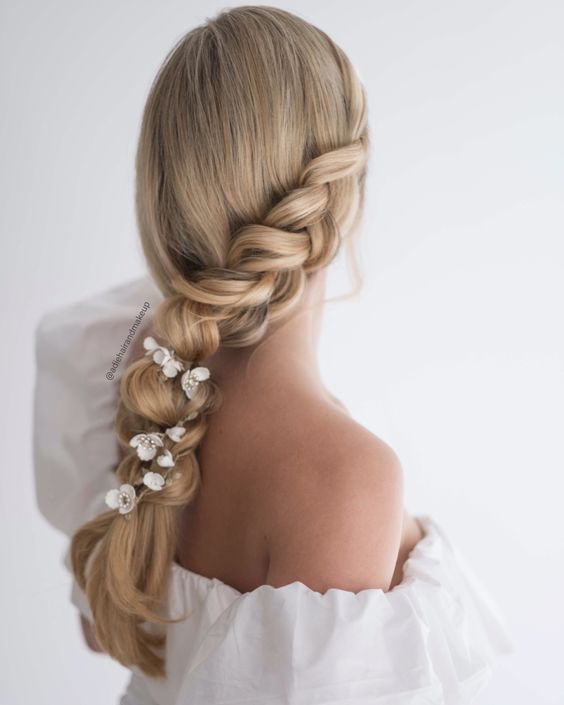
Adding ribbons, beads, or flowers as accessories:
Add some style to your Dutch braids by weaving in colorful ribbons, threading beads, or tucking in flowers. These touches make your braids look pretty and playful.
Maintenance and Care
Tips to care for your braids and stop frizz:
To keep your braids neat, use a little hairspray or a smoothing serum. Try not to touch or play with your braids often, as this can cause frizz.
Helpful tips for sleeping with braids:
To keep your braids neat overnight, cover your hair with a silk or satin scarf. You can also sleep on a silk pillowcase to help prevent frizz and reduce friction.
Tips to remove Dutch braids gently without harming your hair:
When you want to take out your braids, begin at the tips and slowly move upward. This helps prevent hair from breaking. If you find any knots or tangles, use a detangling spray to make it easier.
How does a Dutch braid differ from a French braid?
While both braids involve crossing sections of hair over one another, in a French braid, the sections are crossed over the middle, making the braid lie flat against the head. In a Dutch braid, the sections are crossed under the middle, resulting in a braid that stands out.
Can I do a Dutch braid on short hair?
Yes, Dutch braids can be done on short hair, though it may require more precision and practice. Using hair products for hold and control can help manage shorter strands.
What hair types are best suited for Dutch braids?
Dutch braids can be created on all hair types, including straight, wavy, curly, and coily hair. The technique may vary slightly depending on hair texture, but with practice, it can be mastered by anyone.
Do I need any special tools to create a Dutch braid?
The basic tools you’ll need are a comb, hair elastics, and optionally, hair clips to section off hair. For added hold and smoothness, you might use hair spray or styling gel.
How can I make my Dutch braid last longer?
To make your Dutch braid last longer, start with clean, dry hair, and use styling products like mousse or texturizing spray for grip. Secure the braid tightly and use bobby pins if needed. A light mist of hair spray can also help hold the style in place.
Are Dutch braids suitable for formal occasions?
Yes, Dutch braids can be styled elegantly for formal occasions. They can be combined with other braiding techniques, updos, or accessorized with decorative pins and flowers to create sophisticated looks.
How do I prevent my Dutch braid from frizzing?
To prevent frizz, use a smoothing serum or hair oil before braiding. Braid hair that is slightly damp or pre-treated with a styling product for better control. Avoid touching the braid excessively once it’s done, and use a satin scarf or pillowcase at night to minimize friction.
How do I create a double Dutch braid?
To create double Dutch braids, part your hair down the middle to create two equal sections. Braid each section into a Dutch braid, starting from the hairline and working your way down to the ends. Secure each braid with a hair elastic.
Conclusion
Dutch braids work well with any hair type and can look casual or fancy. Whether your hair is curly, straight, thick, or thin, you can find a Dutch braid style that suits you. Try out different styles and add accessories to create a look that is unique to you.